

Accessing the Contexts page
To open the Contexts page, select Contexts under the Configure section of the left sidebar.
Context list
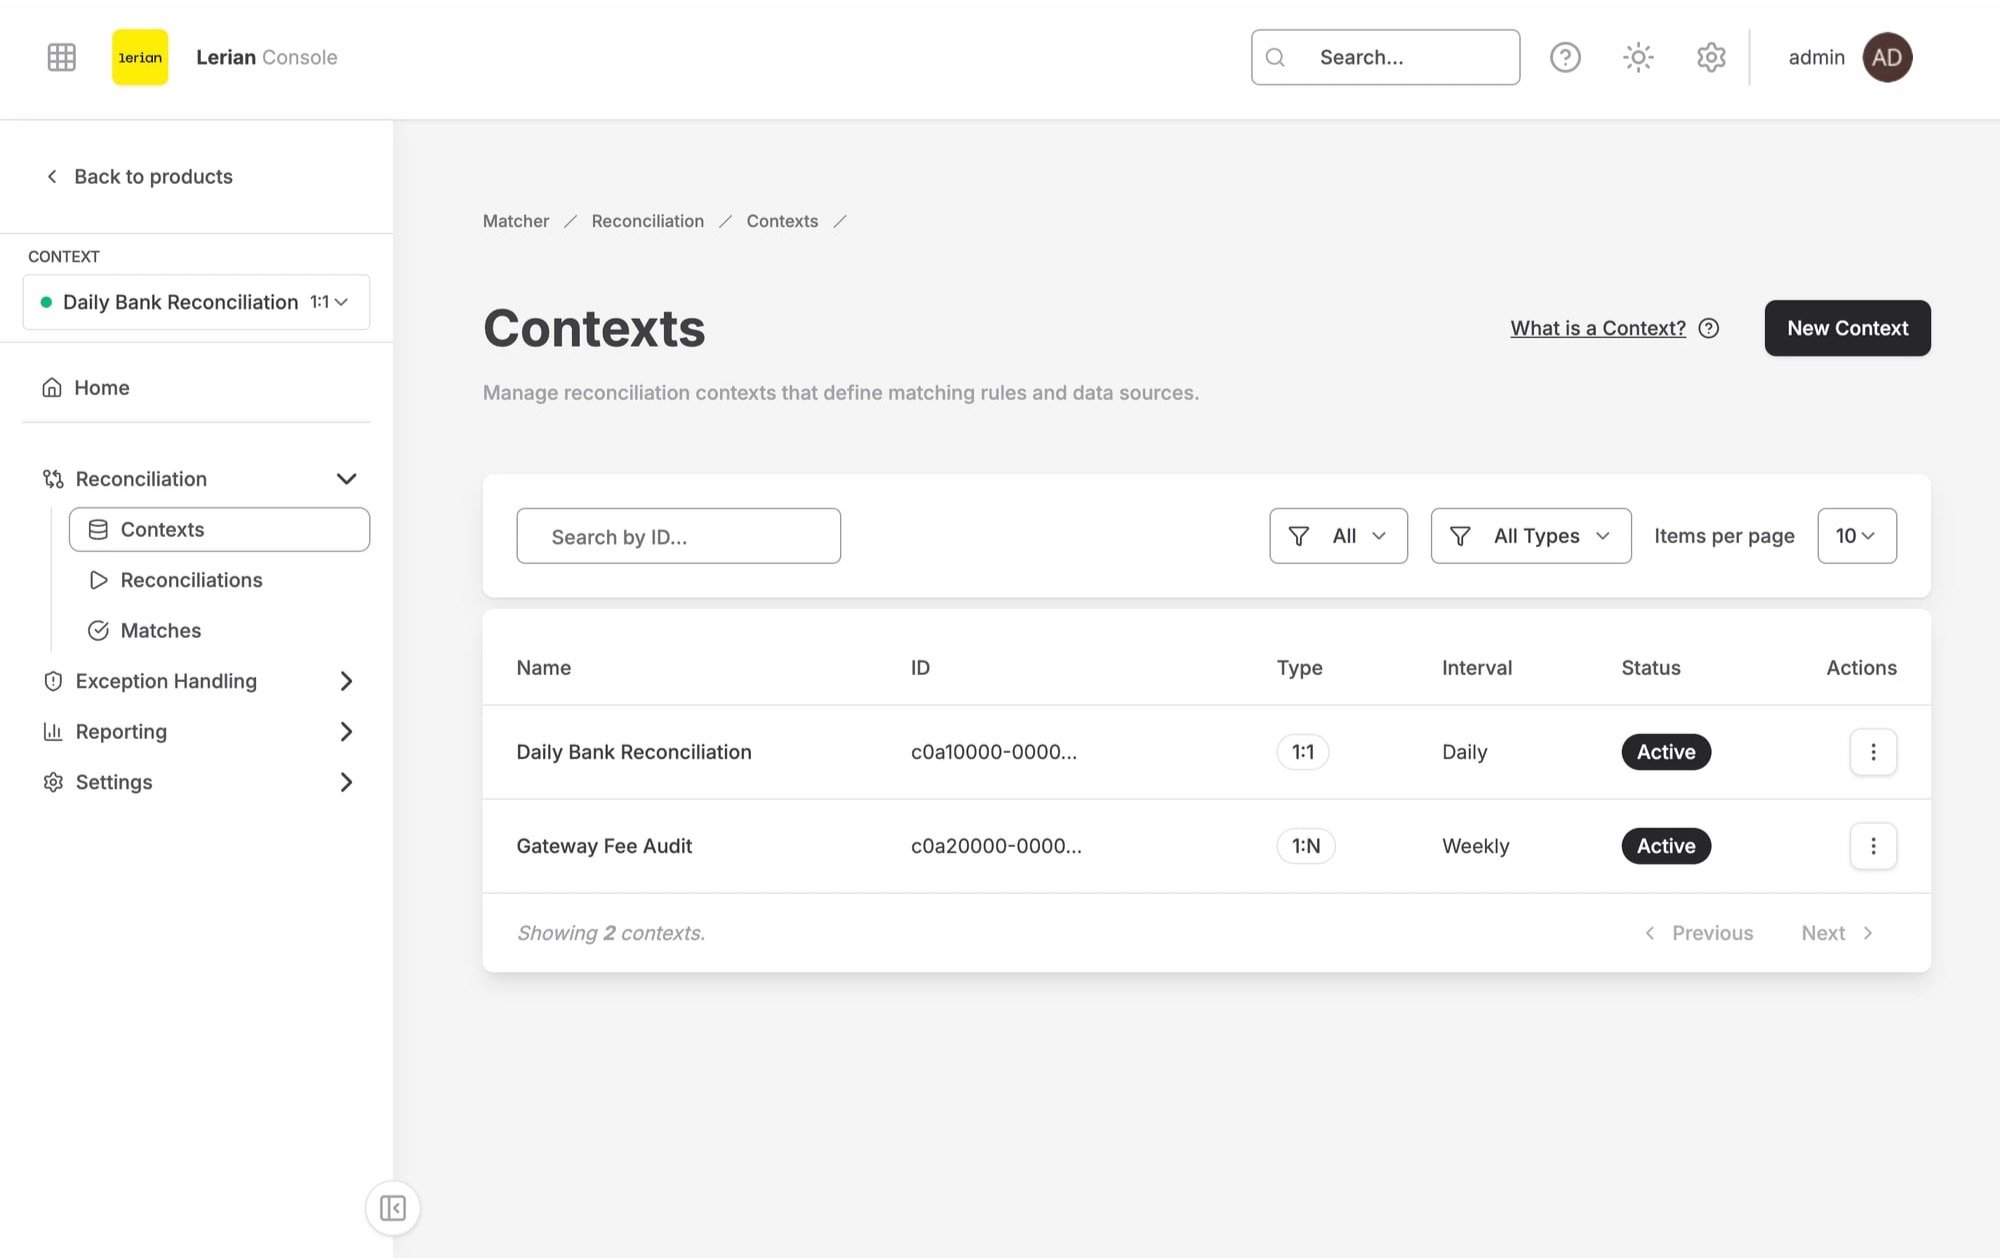
Figure 1. The Contexts list page.
Context statuses
Click a context name to open its detail page. Contexts are archived and restored rather than deleted — see Context actions below.
Creating a new context
Click New context on the Contexts page to open the guided setup wizard. The wizard is the single path for creating a context; the first step collects the context configuration:
1
Fill in the general fields:
2
Optionally configure Fee normalization — how fees are reconciled and the allowed variance:
3
Optionally configure Open-item aging to flag a carried open-item residual as aged once it stays open past a number of days:
4
Optionally enable Auto-match on upload. When turned on, a match run is triggered automatically when a file is ingested into this context.
5
Click Create context in the wizard footer. The wizard then guides you through adding sources, field maps, and match rules.
Context detail page
Click a context name in the list to open the context detail page. The detail page is organized into six tabs:
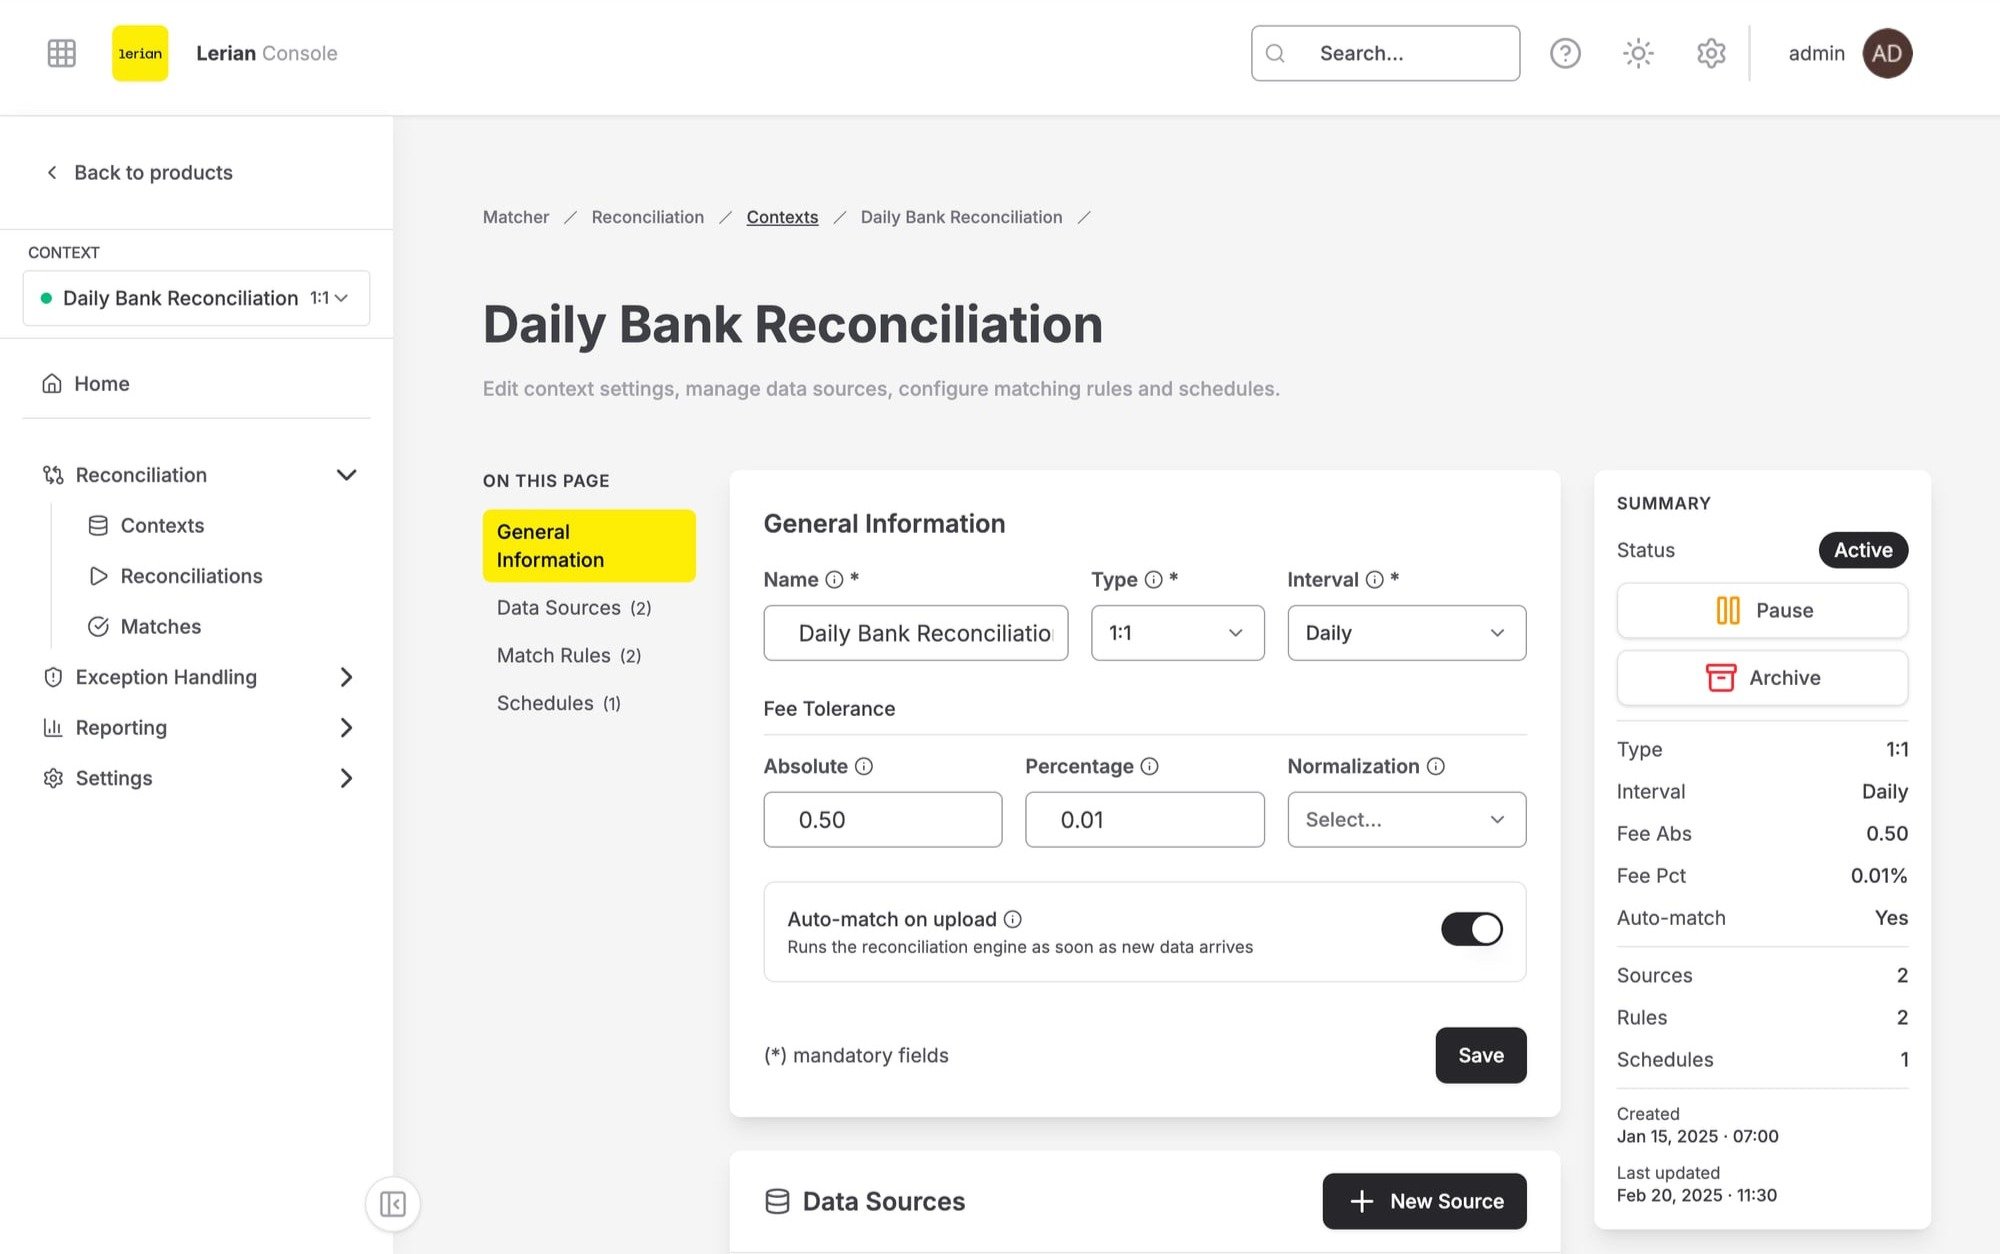
Figure 2. Context detail page with its configuration tabs.
Context actions
The page header shows the context name, status badge, type, interval, and creation date, along with the following actions:Sources, field maps, rules, fee rules, and schedules are all managed from within the context detail page. There are no separate standalone pages for these entities.