Midaz Console with Access Manager
Midaz Console no longer includes native access control. However, iIf you need to manage users, permissions, and roles, you’ll need to acquire the Access Manager plugin, a paid feature available exclusively to Enterprise clients.
Access Manager brings a robust, centralized RBAC (Role-Based Access Control) system to the table, designed to scale with your team and simplify complex permission setups.
Need this feature?
Access Manager is available as a part of the Enterprise model. If you'd like to learn more or evaluate it for your use case, get in touch with our team.
Why Access Manager?
Access Manager replaces the Console’s legacy access control with a modern, API-driven model backed by a centralized Identity Provider. It’s built for teams that need clarity, consistency, and control over who can access what.
Each Enterprise environment is single-tenant, which means your access rules are isolated and secure by design.
The Identity Provider takes care of:
- User authorization
- Role and group management
- Seamless integration between UI and API
Our Access Goals
- Centralize authentication and authorization.
- Make it easy to manage users and permissions through a consistent interface.
- Support role-based access (RBAC) for real-world team structures.
- Provide a scalable solution for fast-growing teams.
Role-Based Access Model (RBAC)
Once Access Manager is activated, you can assign default roles to users. Each role defines what that user can do inside the Console:
Role | Description | Permissions |
---|---|---|
Admin | Full system administrator | Complete access to all features, settings, and resources—including user and role management. |
Editor | Content and settings manager | Can modify content and update configurations within assigned areas, but doesn’t have full admin rights. |
Contributor | Task and content collaborator | Can create and contribute content or perform specific actions, but cannot change core settings. |
Viewer | Read-only user | Can view data and system content but can’t make changes. Ideal for audits or monitoring. |
Attention
Custom roles and permission definitions are not available in v1. Access is managed only through the default role set.
Using Access Manager in Midaz Console
Enabling Access Manager
Once you’ve installed the Access Manager plugin, you must enable it. To do that, update the following variables in the .env
files for both Midaz Ledger and Midaz Console:
PLUGIN_AUTH_ENABLED=true
PLUGIN_AUTH_HOST=http://plugin-auth:4000
You’ll find the .env
files in these folders:
- Midaz Ledger
/midaz/components/onboarding
/midaz/components/transaction
- Midaz Console
midaz-console
Tip
Can’t see the files? Try adjusting your system settings to show hidden files since
.env
files are often hidden by default.
Accessing Midaz Console
After you enable the Access Manager plugin, the login page will appear when you access Midaz Console (Figure 1).

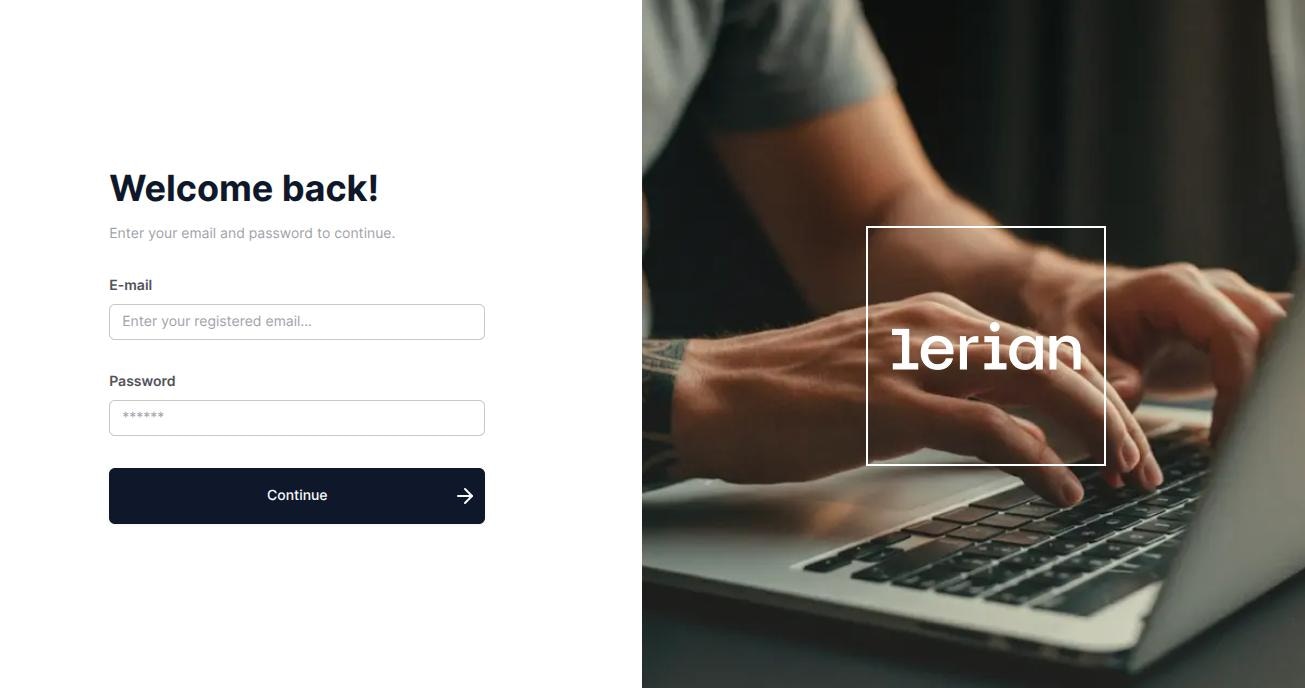
Figure 1. The Midaz Console login page.
First Login as Admin
The first time you log in as an admin, you can use the default admin credentials:
- Email:
[email protected]
- Password:
Lerian@123
After logging in, you’ll go through the Onboarding flow. Once that’s done, you can create the users your Organization needs. These users will use their credentials to access Midaz Console.
Important
Don’t forget to update the admin password after your first login. It’s a simple step that helps keep your environment secure.
Managing Users
Admin-Only Action
Only Admins are allowed to manage users. This includes viewing, creating, editing, resetting passwords, and deleting user accounts. Make sure this level of access is granted responsibly.
Viewing Users
To view all users available, click the gear icon ( ) in the top-right corner, then select Users (Figure 2).

Figure 2. Option to open the Users page.
The Users page will open, showing the list of Users available.
Attention
The default admin user will already be listed. You cannot delete this user, but you can edit the details such as personal information and password.
Creating a User
To create a user, follow these steps:
- From the Users page, click the New User button (Figure 3).

Figure 3. The Users page with the New User button highlighted.
- The New User form will open on the right side of the screen.
- Specify all the information and click the Save button at the bottom of the form.
- The new user will appear in the list of available users.
Editing a User
To edit a user's personal information, follow these steps:
- From the Users page, find the user that you want to edit, click the three dots ( ) from the Actions column, and select Edit (figure 4).

Figure 4. The option to edit a user's information from the Actions menu.
- The Edit User form will open on the right side of the screen.
- From the Personal Information tab, edit the information as needed and click Save.
- You can only edit the name, last name, e-mail, and role information.
Changing a User’s Password
- From the Users page, find the user that you want to edit, click the three dots ( ) from the Actions column, and select Edit.
- From the Edt User form, select the Password tab (Figure 5).

Figure 5. The Password tab highlighted in the Edit User form.
- Specify the new password, confirm it, and click Save.
- The user password will be updated.
Deleting a User
To delete a User, follow these steps:
- From the User page, find the User that you want to delete, click the three dots ( ) from the Actions column, and select Delete (Figure 6).

Figure 6. The option to delete a user from the Actions menu.
- A confirmation dialog will appear.
- Click Confirm to finalize the deletion.
- Once confirmed, the User will be permanently removed from the platform. Proceed with caution.
Updated about 12 hours ago